
why hello. my name is Dawnelle. i am considered many things, mother and wife are at the top of the list. but you must not forget lover of sharpies, chief nose wiper, avid obsessor of texture and fabric, bohemian lover, interior designer, laundress, and the best book reader ever. i write over on Just Dawnelle about my sweet family and my life... what i think, feel, love, believe, do and obsess over.
Is there anything more adorable than little baby hand prints? I really don't think there is. They are one of the most precious things and totally something you don't ever want to forget, am I right??
Today, I have a fun, easy, fast little project to help you capture those sweet little hand (or feet) prints! So if you are looking for a last minute Father's Day gift, or birthday present, or just a super easy project to do one afternoon, this would be perfect!
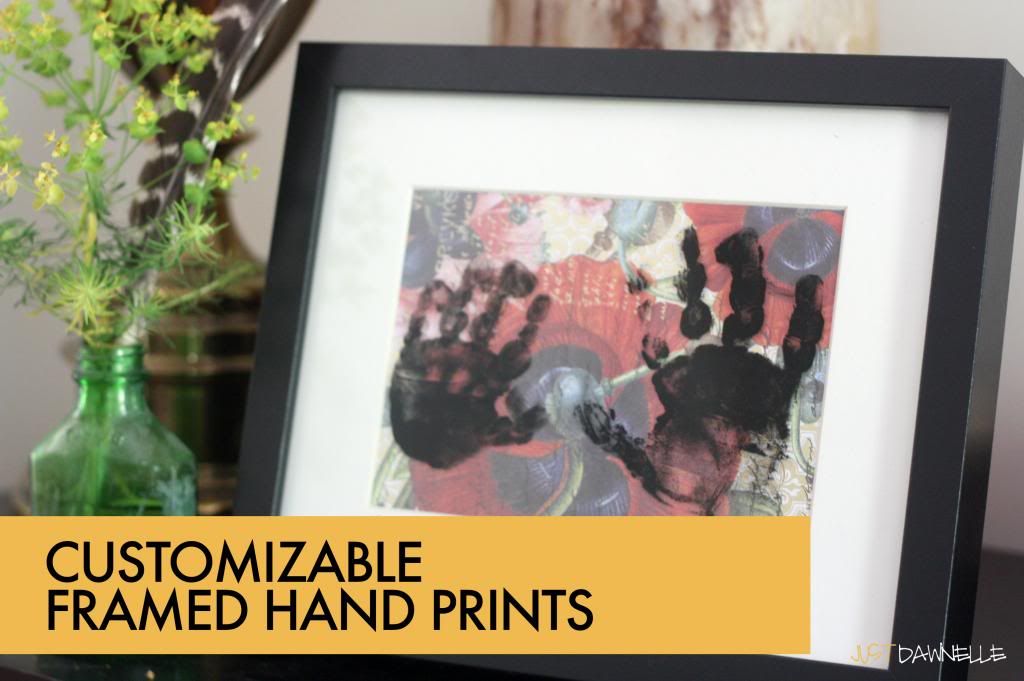
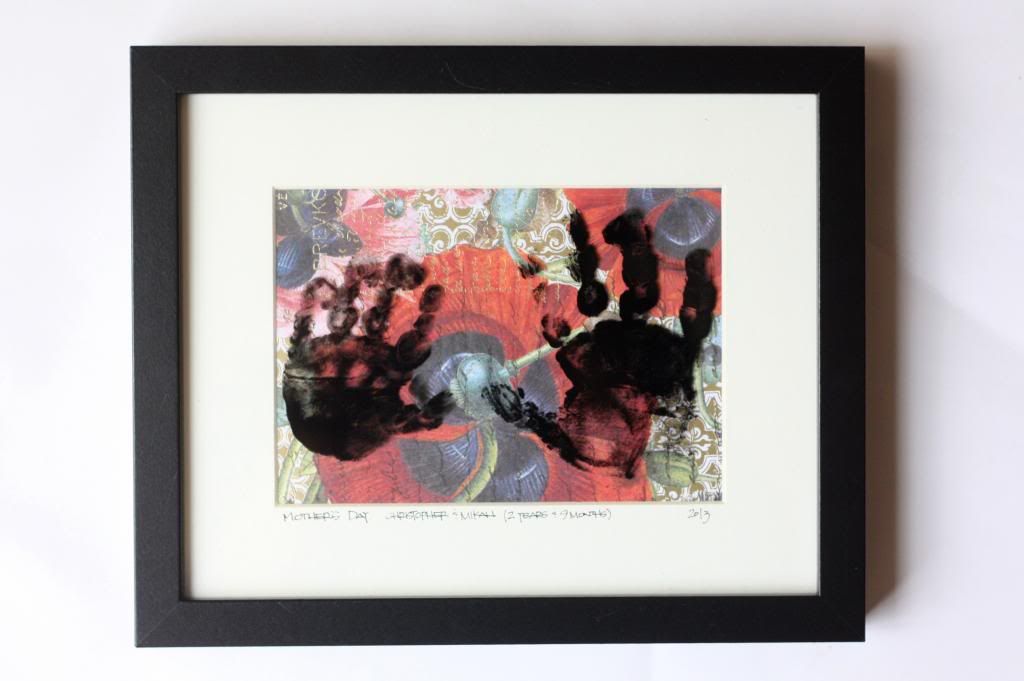
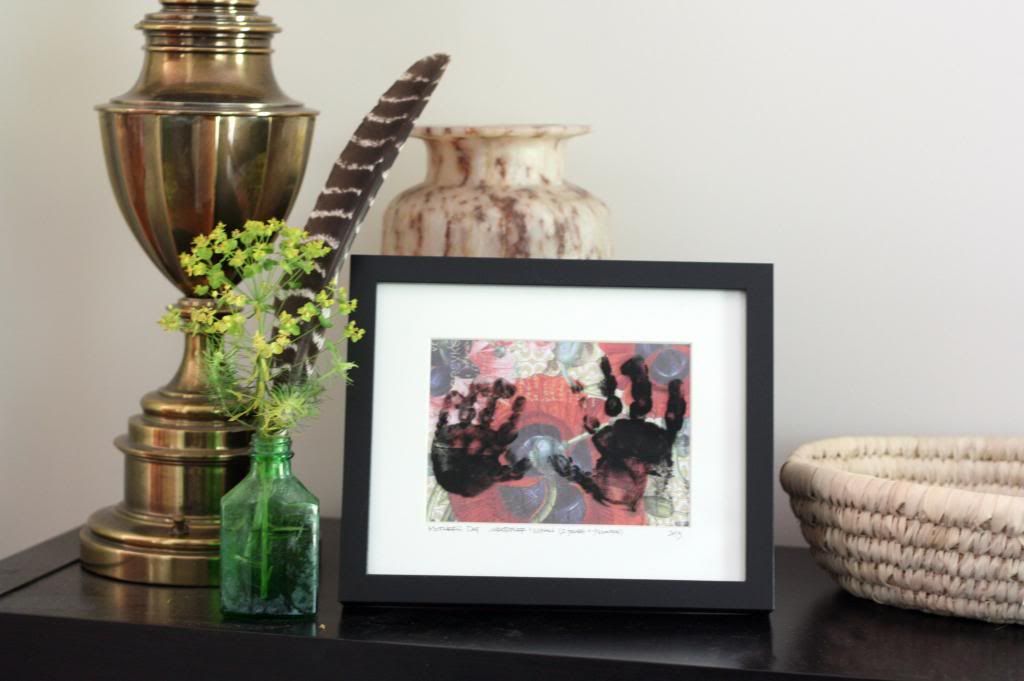
My favorite part about it? It is sentimental but can be coordinated with any decor at any time or even coordinated with the seasons if you so desire simply by changing the background! Brilliant right?? Plus I do love all the layers in the piece. It brings a certain level of interest to the project I think. So without further ado, I present to you, Customizable Framed Hand Prints!
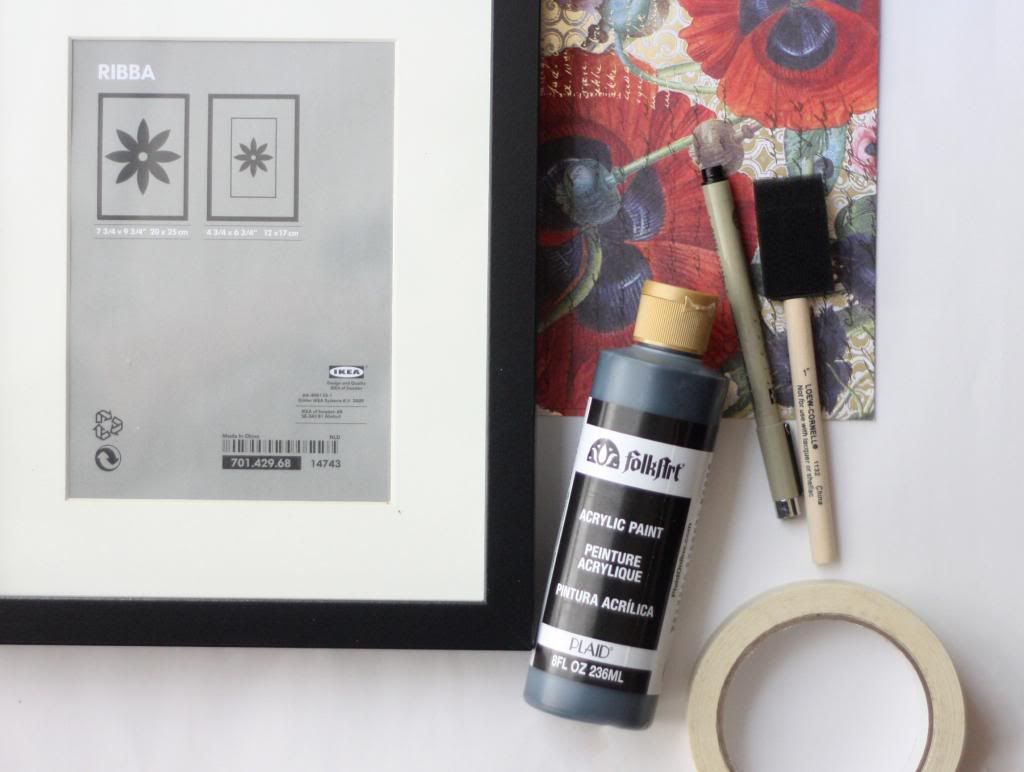
SUPPLIES
Picture frame with a mat (complete with glass or plexiglass)
Patterned paper or photo
Paint
Paint brush
Masking Tape
Pen (Archival is best... especially for something you want to last awhile)
INSTRUCTIONS
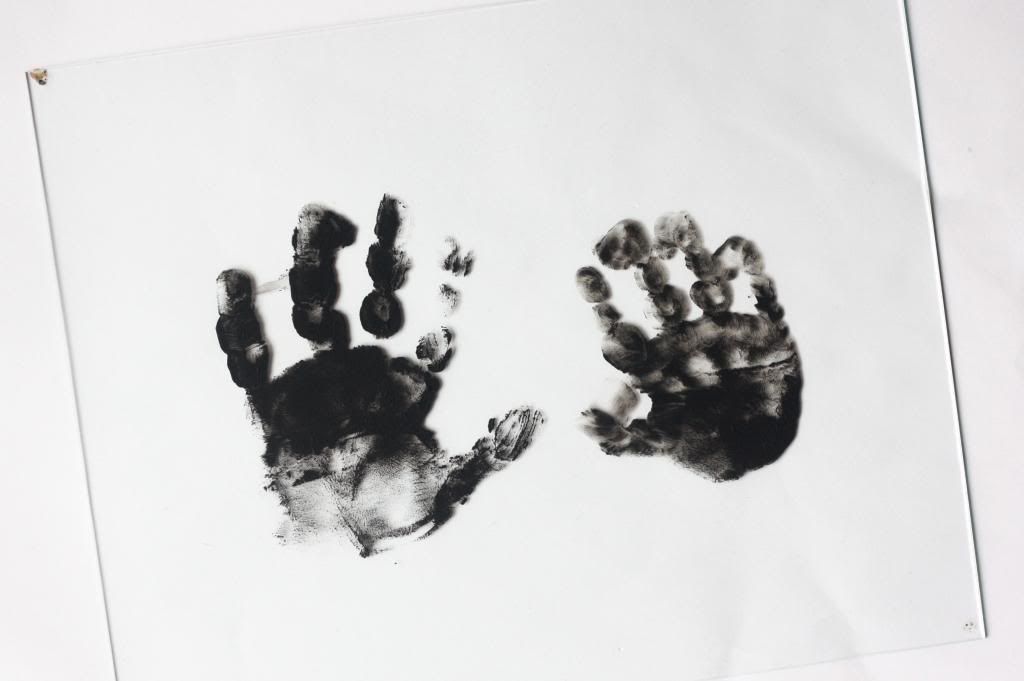
Let's start with the hard part... the hand prints. I highly recommend
applying the paint to your child's hand with a brush instead of dipping
it in. You will get a lot less paint on the hand and therefore achieve a
better hand print than the alternative.
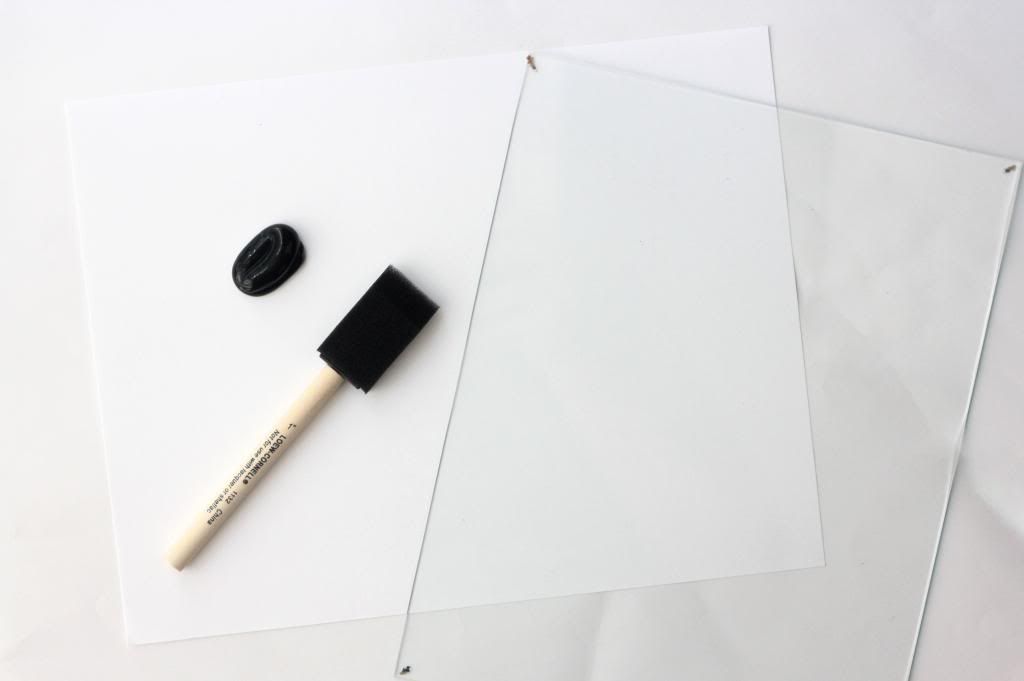
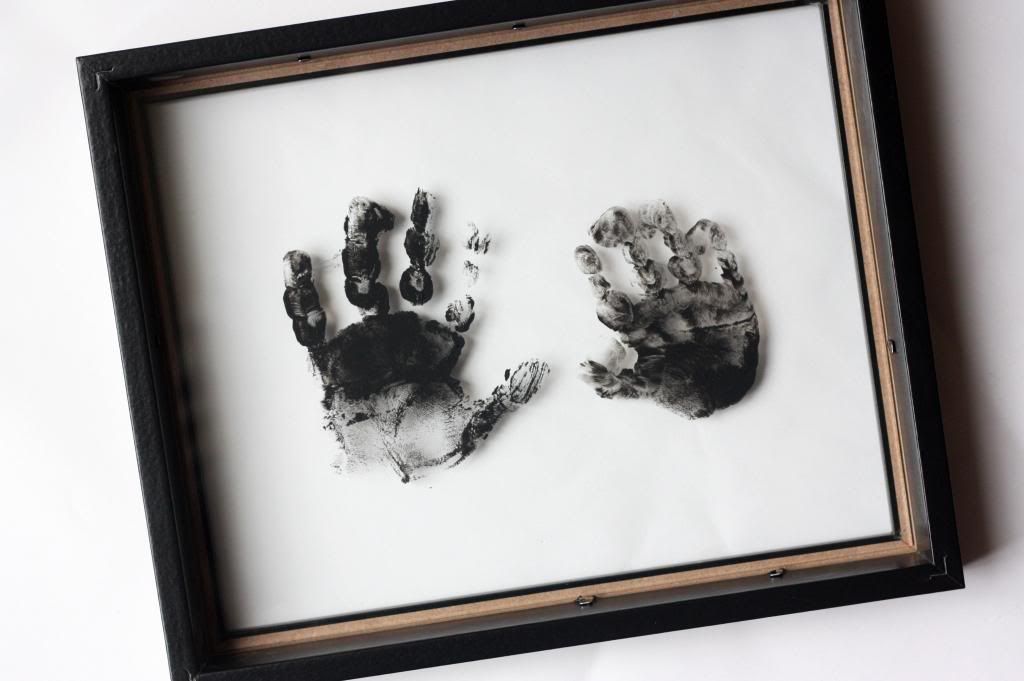
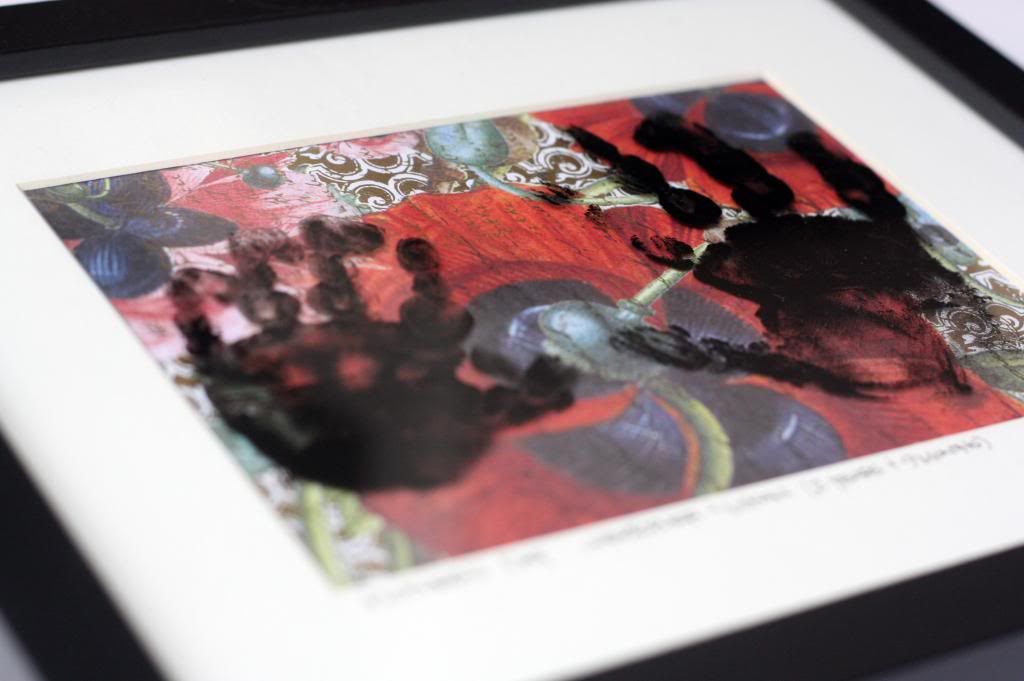
The easiest
way is to put a little dab of paint on a piece of paper or plate, apply
the paint to your child's hand, then quickly push their hand DIRECTLY ON
THE GLASS. That's the fun part really... the hand print is right on the
glass. This is what allows you to change the back ground out whenever
you would like.
Be careful as you push their hand
though because the surface of the glass is a little slick and their
little hands can slide, smudging up the print. If you do happen to
smudge it up, you can always clean the glass and start over! (Sorry... no pictures of the actual printing process... I was lucky to get my two year old to work with me let alone get a photo of it!)
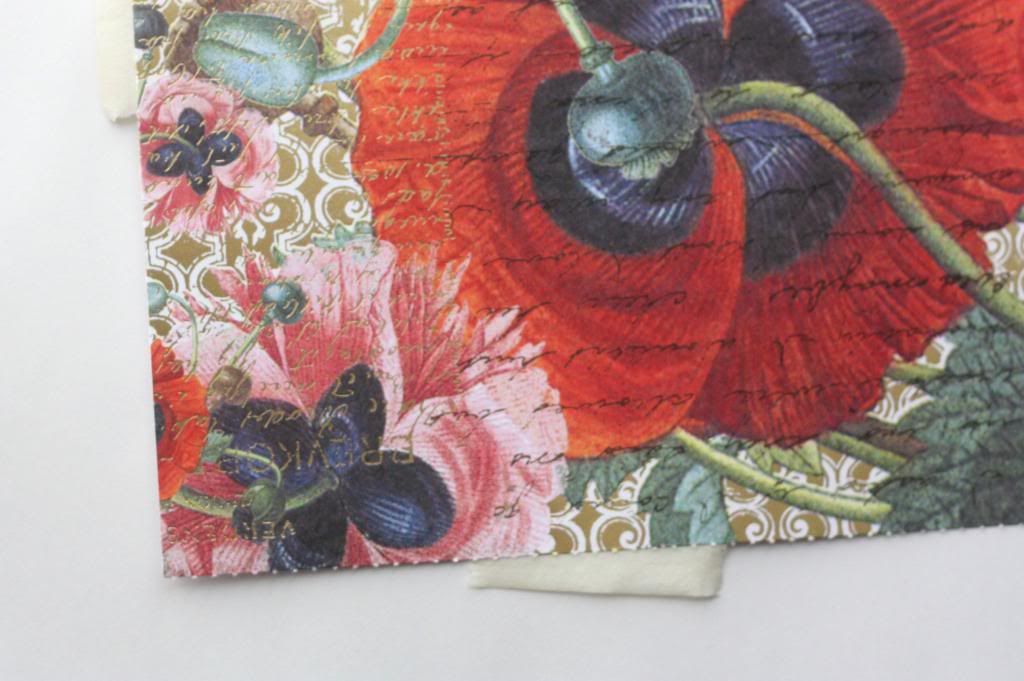
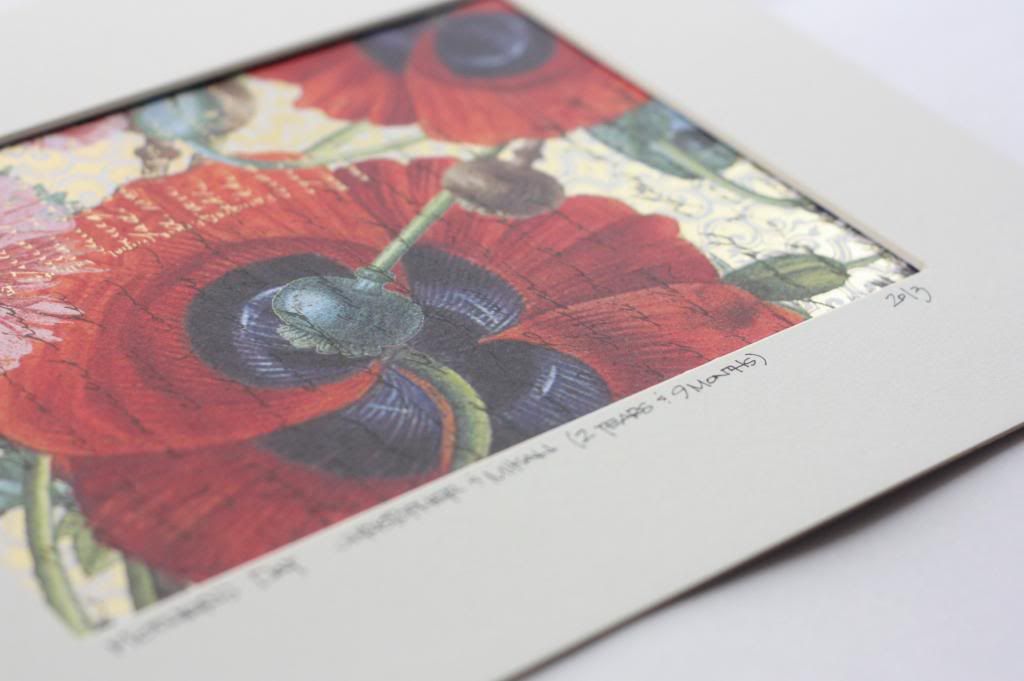
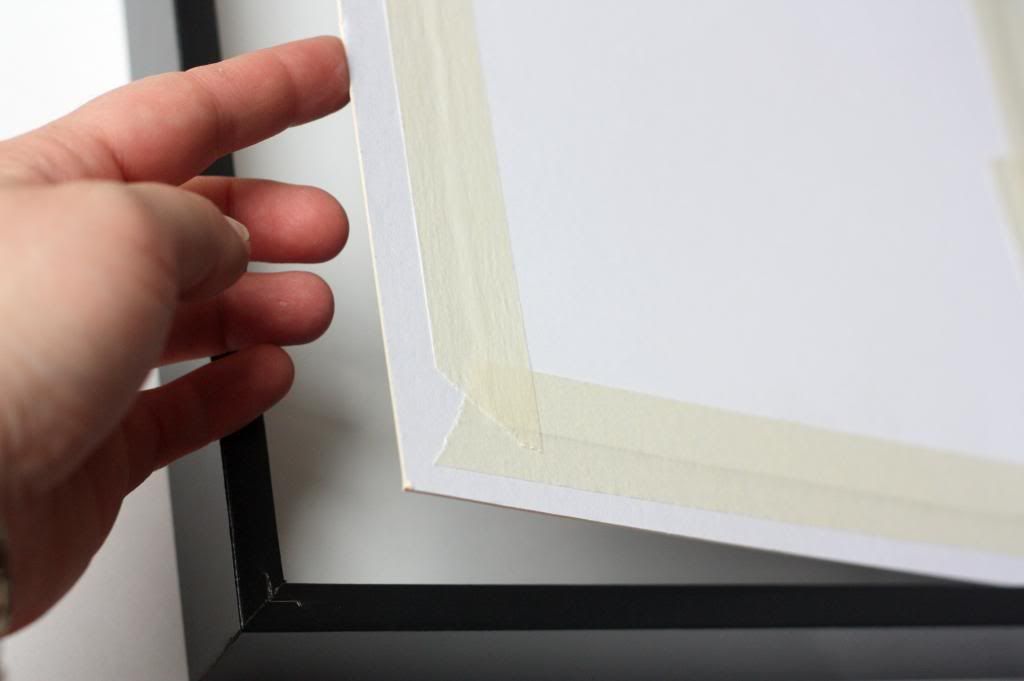
Now, while your hand prints are drying, cut down your paper (or photo) to fit the mat. I used an 8x10 mat with a 5x7 opening. To get the part of the pattern on the paper you want in the opening, put a small piece of masking tape on two sides, hover the mat over the paper until you have it where you want it, then push the mat down into place.
Once you have the paper in place, tape all sides down completely. You want to cover all the edges so there will be no bubbling or movement in the paper.
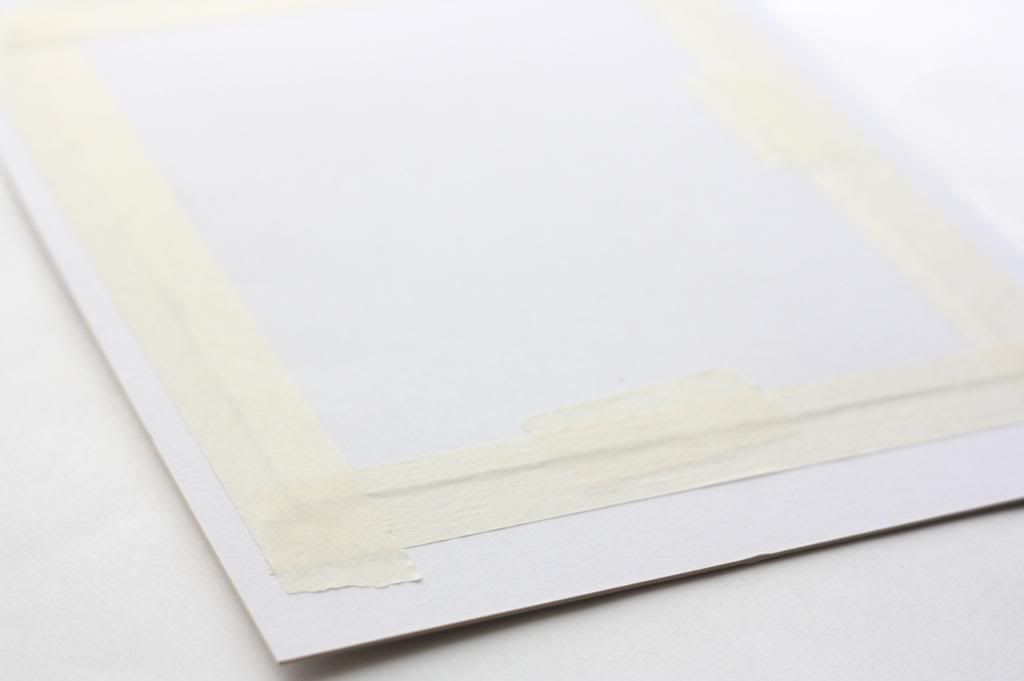
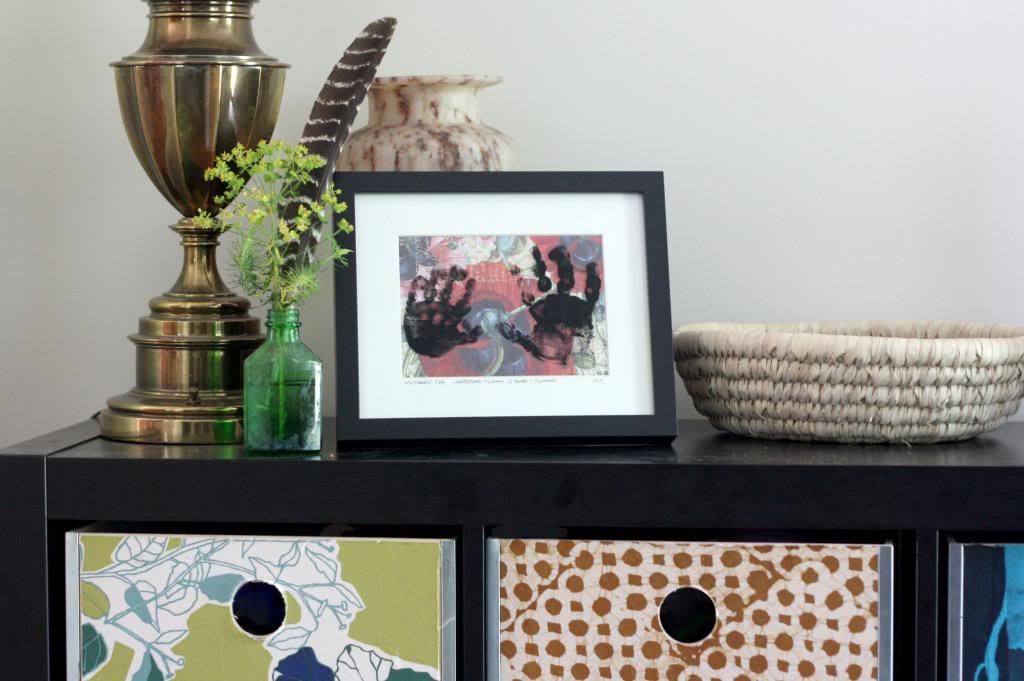
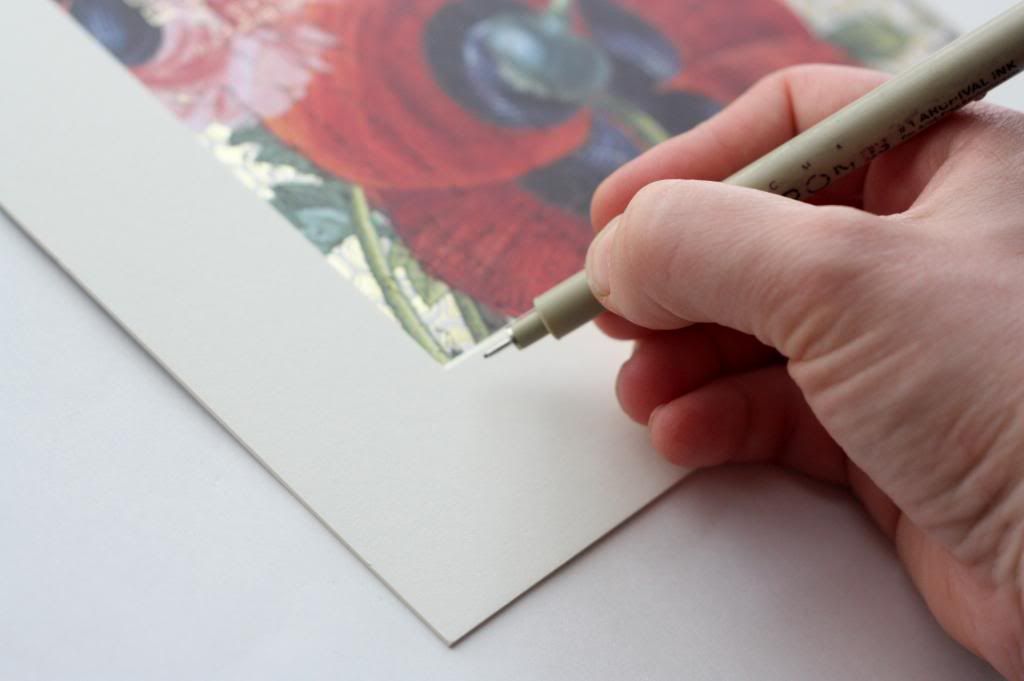
Using your archival pen, write a little message including your babies name and the date somewhere on your mat. I wrote my children's names, ages, and the date along the bottom edge of mat opening.
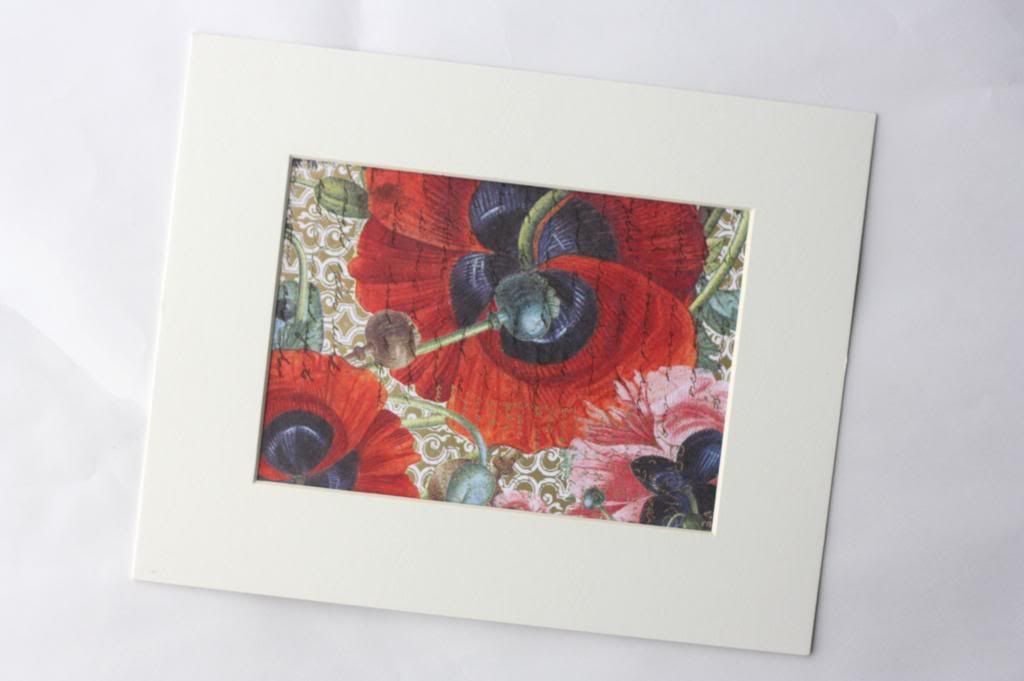
When your hand prints are dry, put the frame back together! Glass first, with the hand prints on the inside of the frame so nothing can happen to them (like being scratched or rubbed off), then the mat, and the back of the frame.
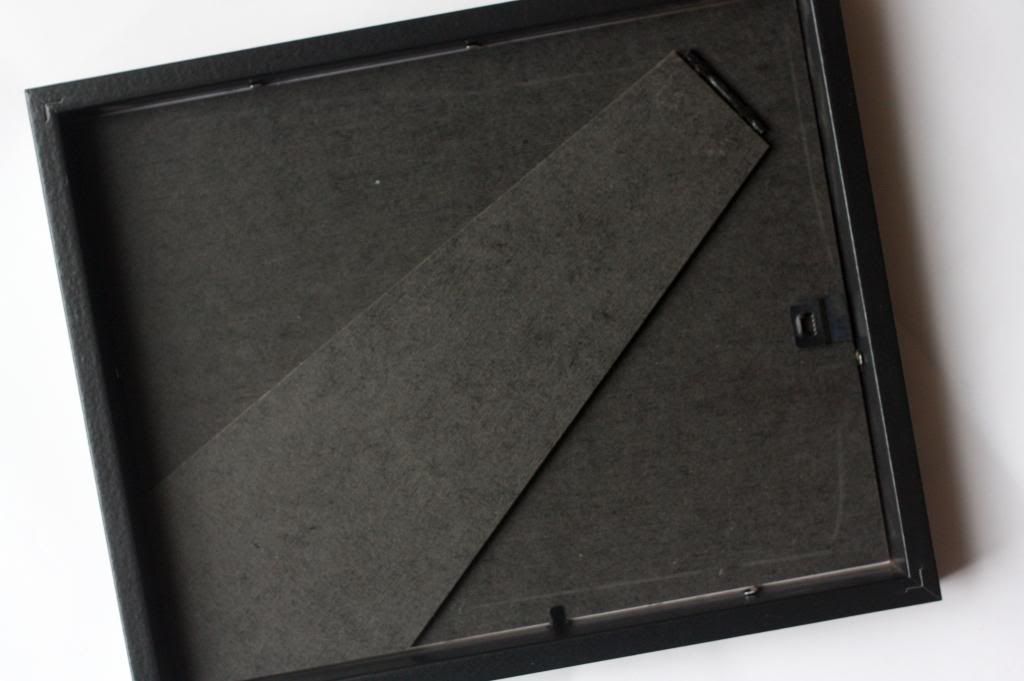
Ta-da! Simple as that... to change the background, quickly pull the frame apart and replace the paper! Easy as that!
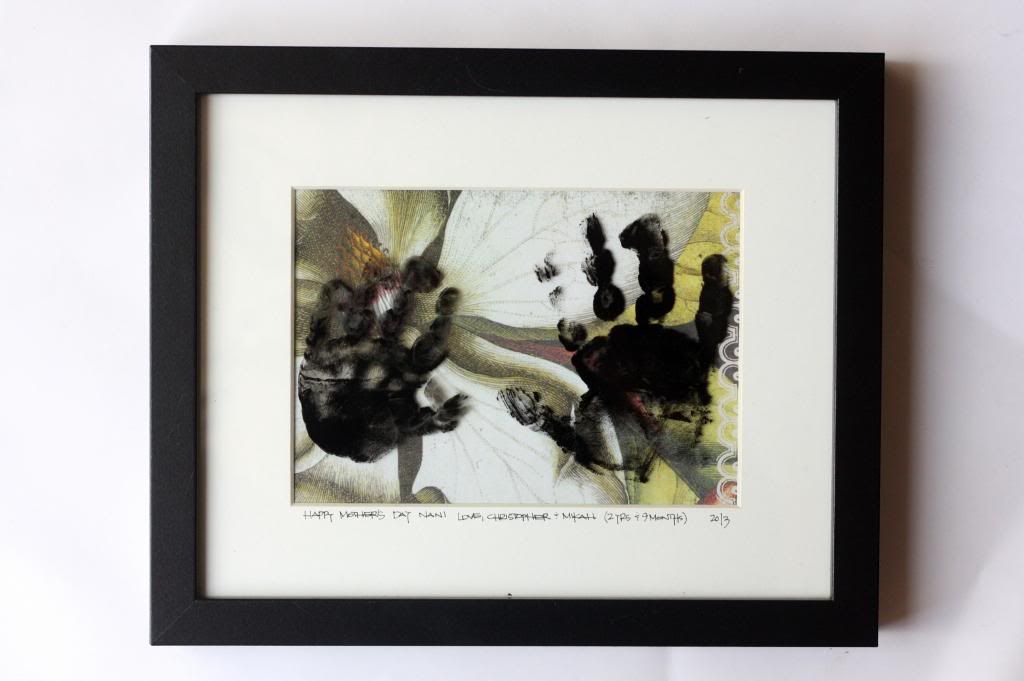
And there you have it, super adorable, simple way to archive and display those precious little hands (and feet, of course!)


No comments:
Post a Comment