
why hello. my name is Dawnelle. i am considered many things, mother and wife are at the top of the list. but you must not forget lover of sharpies, chief nose wiper, avid obsessor of texture and fabric, bohemian lover, interior designer, laundress, and the best book reader ever. i write over on Just Dawnelle about my sweet family and my life... what i think, feel, love, believe, do and obsess over.
Remember that super easy and fun bracelet caddy from last week? Well... after it was all made. Christopher decided that it was so very fun to take the bracelets on and off of it. It almost seemed like... a toy?
Remember that super easy and fun bracelet caddy from last week? Well... after it was all made. Christopher decided that it was so very fun to take the bracelets on and off of it. It almost seemed like... a toy?
Why of course! How simple and perfect it is for a little toddler toy right?
I finally found a way to safely and functionally store my bracelets! What do you think? I kept it simple finishes wise just because it fit my bedroom decor better that way but the possibilities are endless with it! Bare wood... ooh there is soooo much you could do!
Supplies
MDF--cut down to 3" W x 15" L
1-1/2" Wood dowel--cut to 9" Lc
Wood glue
Drill bit that will allow you to countersink your screw
Drill bit
3 Wood screws
Not shown
Paint
Paint brush
Washi tape (if you would like...)

Instructions
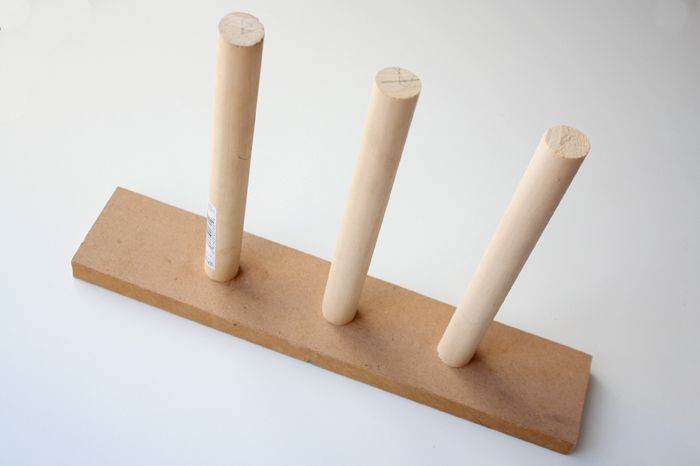
Begin by measuring where each dowel will be attached.
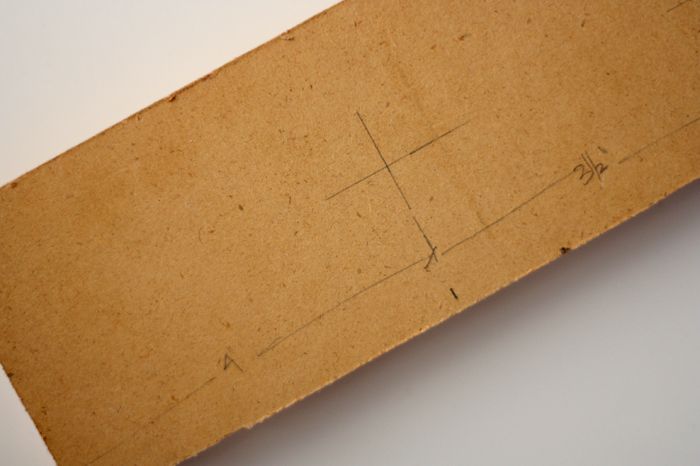
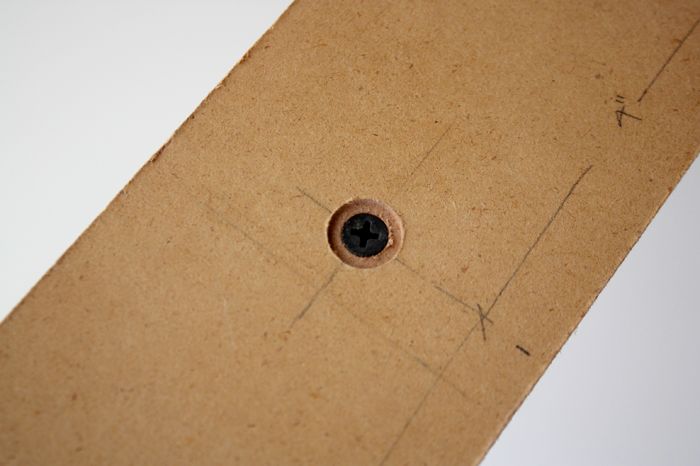
You will want to measure in from the left 4" for the first dowel. Measure in 3-1/2" to the second dowel, and another 3-1/2" for the third dowel. This will leave 4" to the far edge. Next measure 1-1/2" from the top edge in so the dowels will be placed in the center of the MDF width wise.
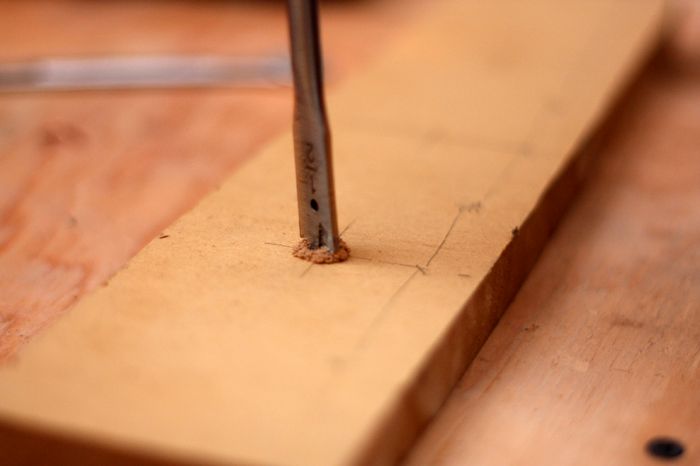
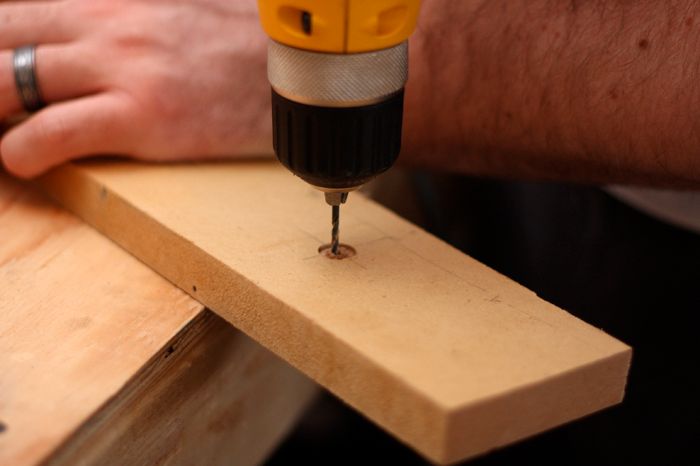
Once you have the placement for each dowel measured out, use the countersink drill bit to drill out enough of the MDF for the screw to not stick out beyond the MDF. You want the MDF to be able to sit flat.

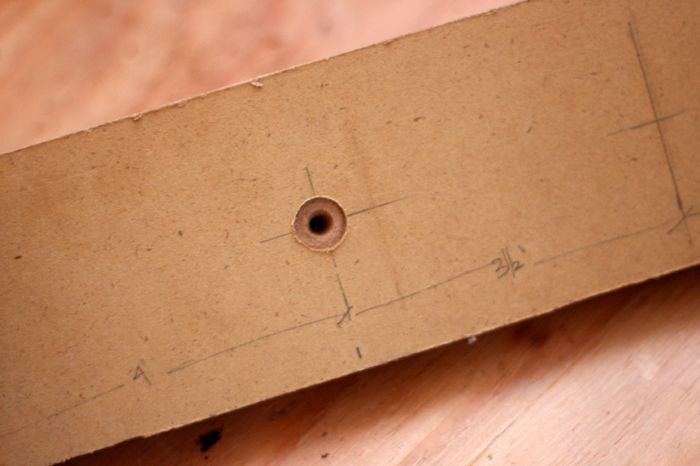
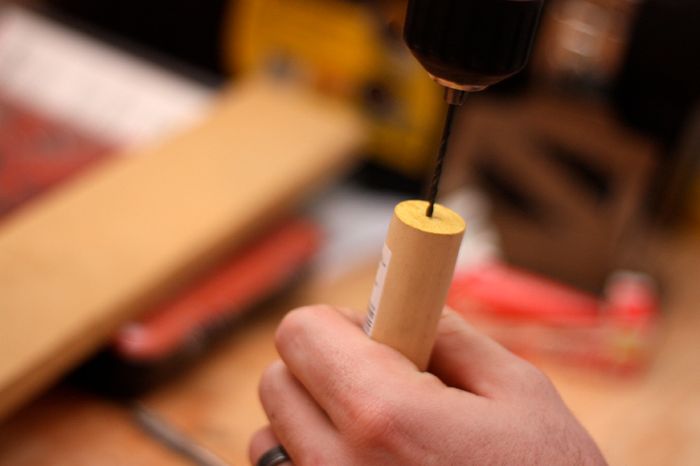
Next pre drill a hole in the MDF and in the dowel so that you won't have any puckering or movement when you go to attach everything.
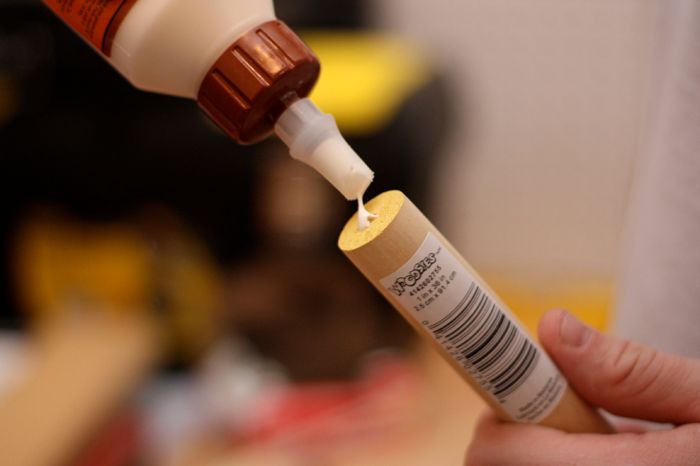
Okay, time to attach the dowels! Apply a little wood glue to the end of the dowel (where it is going to attach to the MDF).
Drill up through the bottom of the MDF through the wood and into the dowel and ta-da! Attached!

Now you can spice up the wood any way you would like! I wanted to keep it simple so I actually didn't do anything to the wood. I was imagining though a bright neon paint around the edges of the wood. Or using scrapbook paper around the edges or around the dowels. Ooooh the possibilities!!

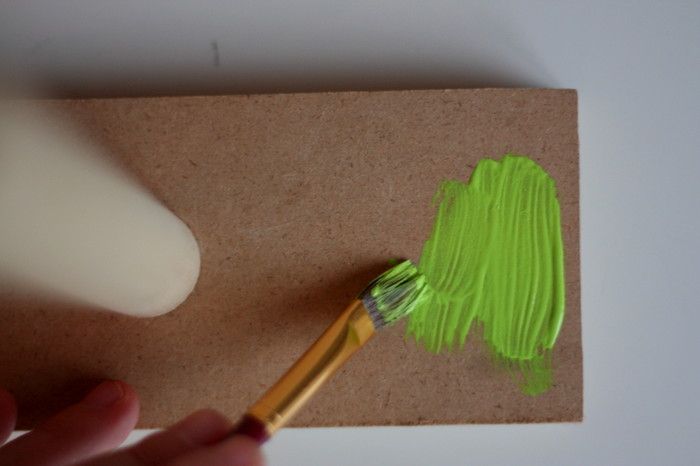
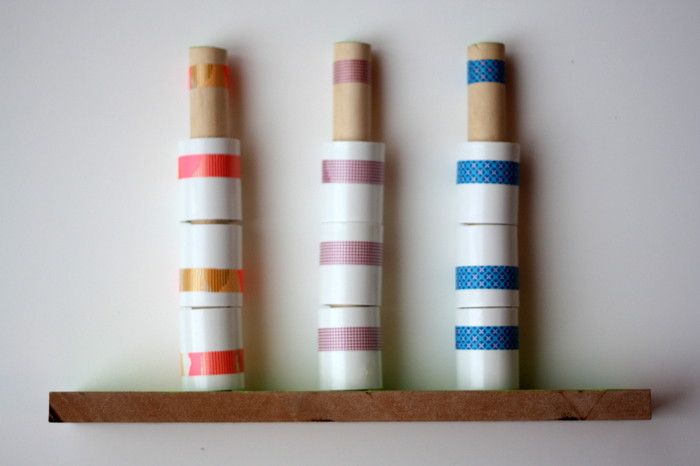
Now you can spice up the wood any way you would like! For the toy I
painted just top of the platform and the top of the dowels. I liked a
little spice of color but wanted to keep much of the natural wood.

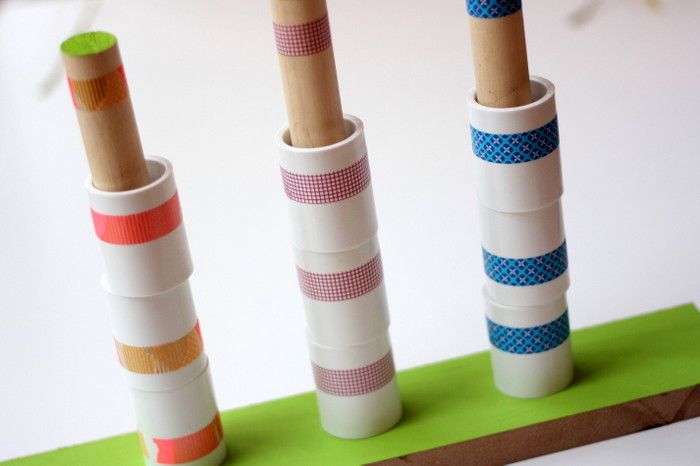
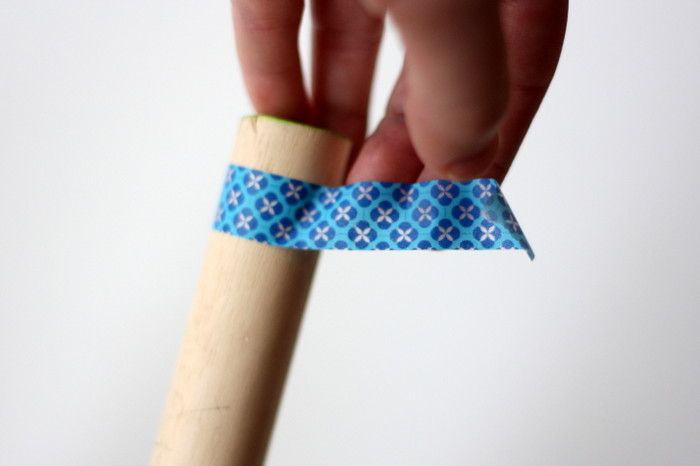
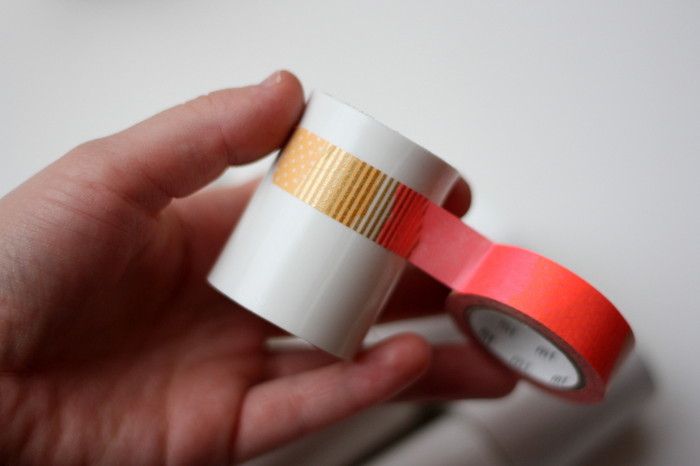
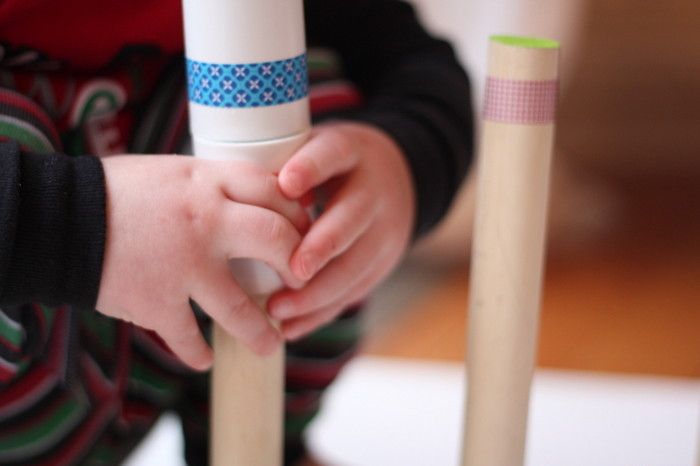
I wanted to include a matching aspect to the toy as well. To do this, I used washi tape. Paint would have worked well too actually. Although I was a little worried the paint would chip off the PVC pipe.
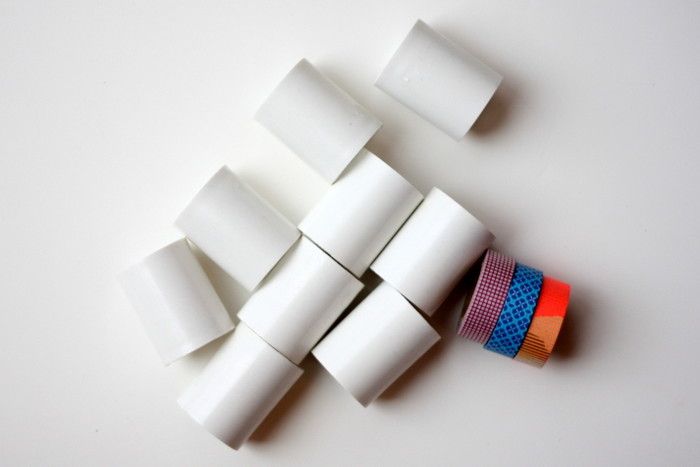
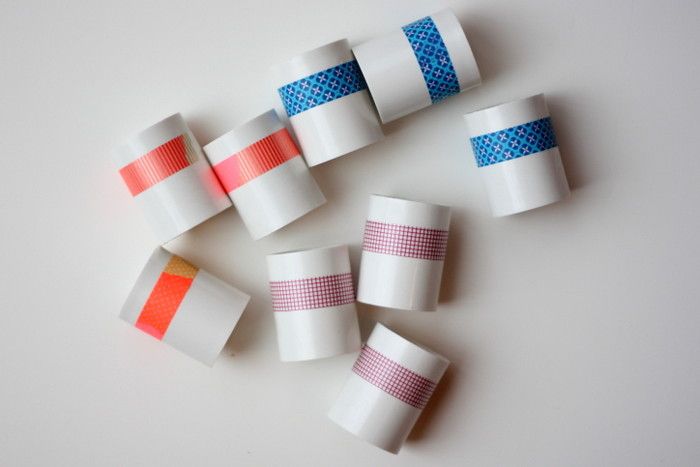
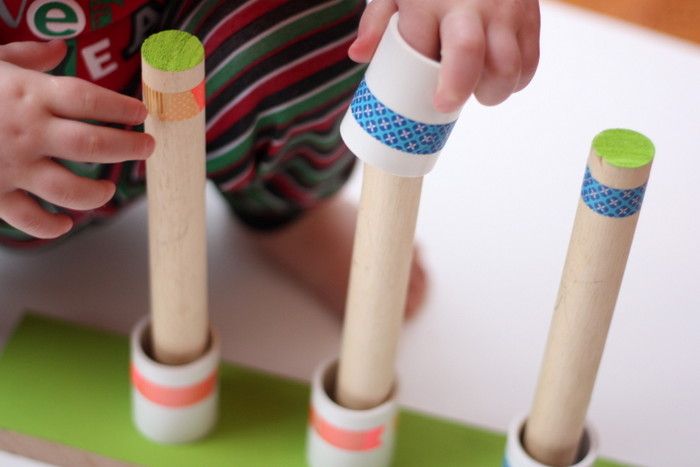
I used three different kinds of washi. Each type was wrapped around three pieces of the PVC and the top of one of the dowels. This allows for the child to match the patterned washi on the pipe with the washi on the top of the dowel.
and Christopher LOVED it! No explanation was needed... he totally got it! I love seeing young children learn and play...
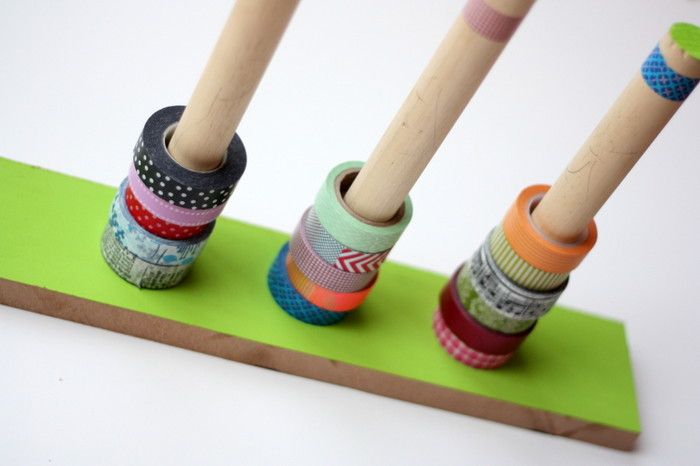
He actually showed me this little toy is also wonderful storage for washi tape!!! and the tape looks super fun on there too... all the colors and patterns mixed together! What do you think?? So many uses this little thing... I love it!


No comments:
Post a Comment